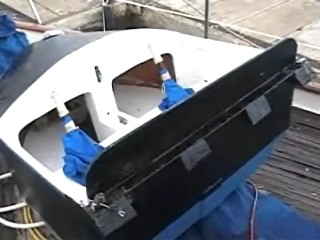
I've made a lot of progress today. All that is left is to attach the rudder board and rudder cables and then launch! Still no mast of course... but hopefull we will have a boat that is able to go in a straight line, turn, and fly under control while being towed. In these pictures you can see the Valkyrie with the wing attached, the amas in place, the sprit and the AOA beam connected, and almost all of the rigging and controls are in place.
The first picture shows the AOA control line coming out of the dashboard and through a jam cleat. You can also see the line that releases the wing (for beaching) so that it can swing up. This line is on the traditional horn cleat so as not to be accidentally released in flight. In the next picture you can see the new turnbuckles on the aileron control lines for precise fine tuning. I also included some more (clearer) pictures of the rudder pedals.
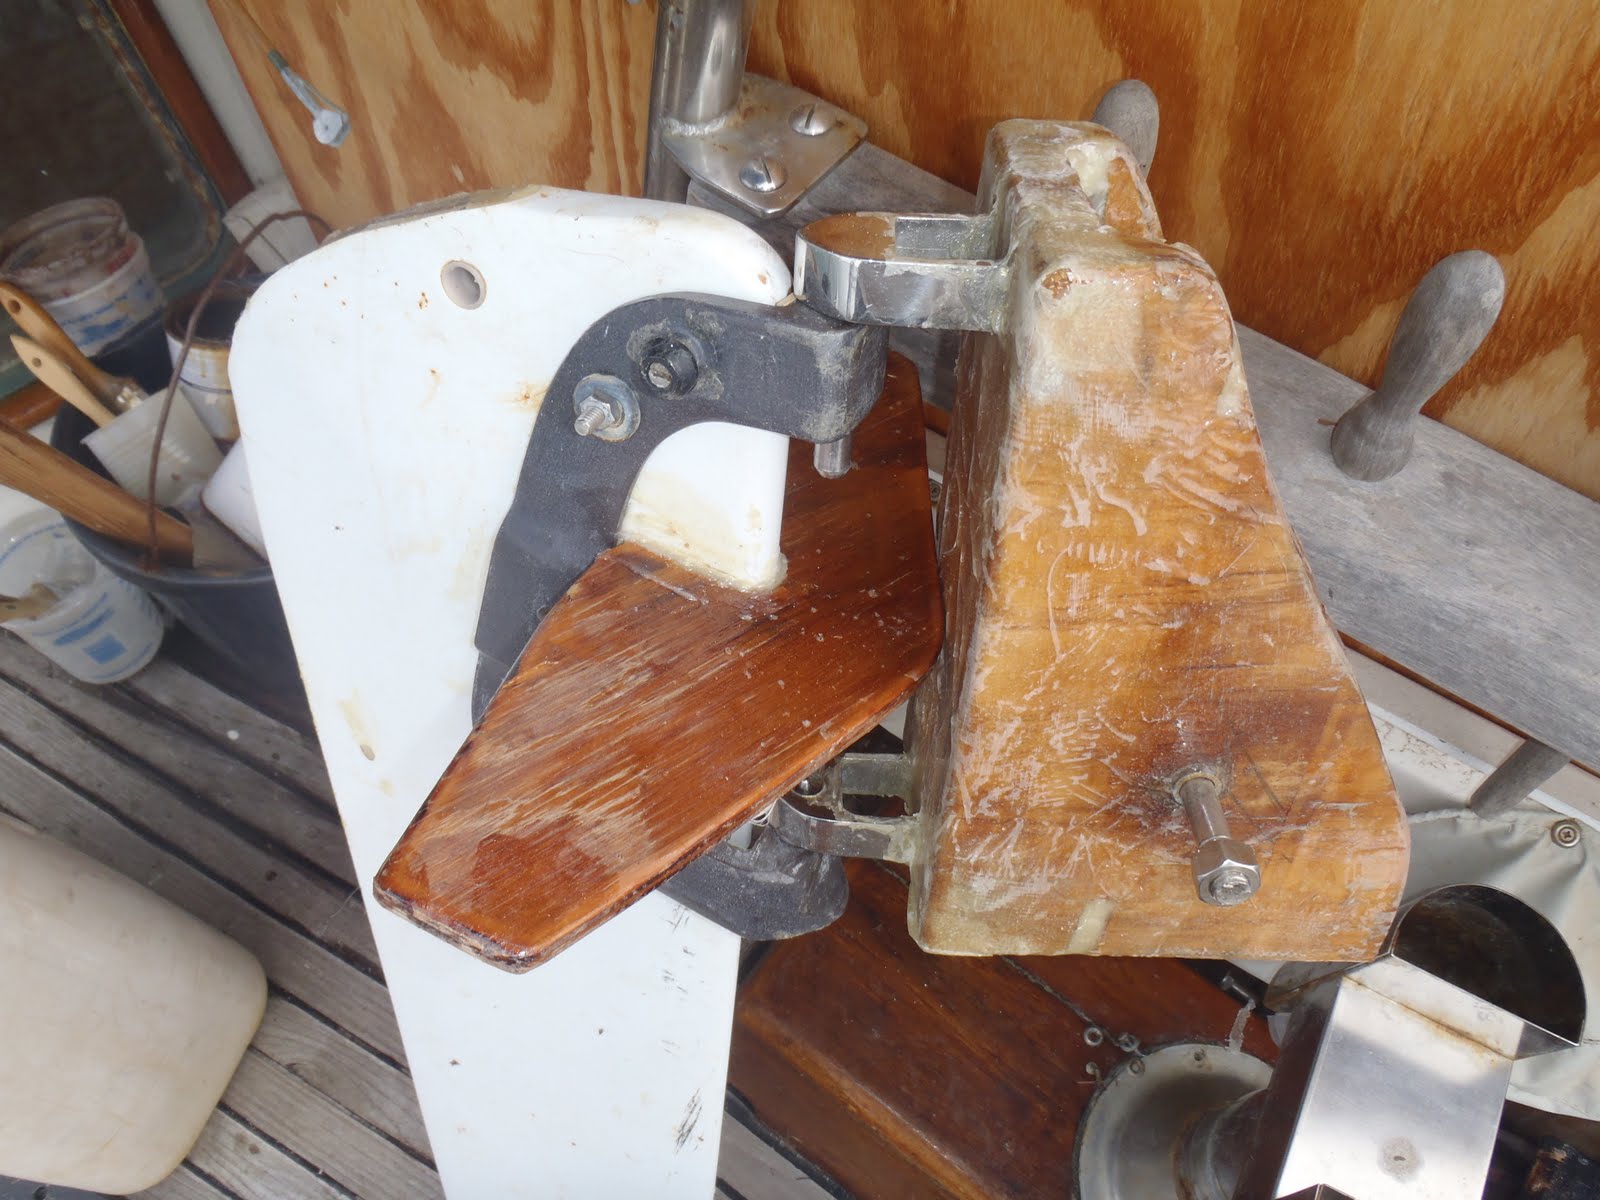
Here is the bungee-assisted-lift mechanism for the AOA beam. Also, you can see the new rudder control lines with turnbuckles and new holes in the hull to pass through.
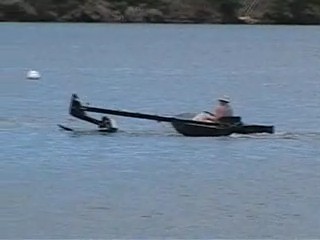
Well, pretty much all the parts are built now. It seems that all that's left is to put everything together, do a bit of rigging and adjustments, then put her in the water! Of course, I don't have the mast or sails ready yet but that is being taken care of and I can do tow testing in the meantime. Coming soon I'll have some photos of the boat put together.
The amas, sprit, AOA beam, and rudder-board are painted black now. I mounted the amas on the wing assembly and had to do some work to get the hinging action just right but I'm happy with it now.
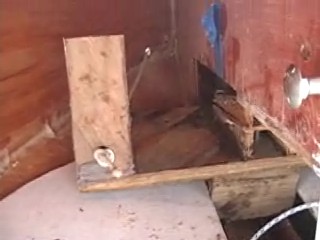
I apologize for the quality of the pictures but my camera is broken so I have to take screen shots off footage from a video camera. Here are the rudder pedals installed, but not sanded painted and finished. These pictures show the range of travel on the left side and one image of the right pedal. It's hard to tell what you are looking at so I will try and get some better pictures in the future.
Here you can see the results of the work that I've been doing. The rudder has a new and stronger "quadrant". The surfboard has all of it's leaks sealed up now. Also, I shortened the AOA beam by 18 inches to the design specs. The new end of the AOA beam is all sealed with epoxy. I had to cut out the stainless sleeve from the old end and drill a new hole and glue the sleeve into the shortened beam.